-
Shop
- Advanced Technologies
- AI Skills Mastery 2026 Collection
- Beauty
- Best-Sellers
- Calvin Klein
- Car Accessories
- Car Buying & Ownership
- Dating & Social Confidence
- Dating & Social Skills
- Denim
- 7FOR
- AGOLDE
- Antony Morato
- Armani Exchange
- Boss
- Brunello Cucinelli
- Calvin Klein Jeans
- Costume National
- Desigual
- Diesel
- Dolce & Gabbana
- Dsquared²
- Ermanno Scervino
- Fendi
- Gianni Lupo
- Guess Jeans
- Ichi
- Just Cavalli
- Lee
- Levi's
- Liu Jo
- Morgan De Toi
- Mother Denim
- Only
- Pepe Jeans
- Pinko
- Replay
- Tommy Hilfiger Jeans
- Valentino
- Vero Moda
- Digital Resources
- Education & Learning
- Family & Parenting
- Fashion
- Alexander McQueen
- Bags & Wallets
- Balenciaga
- Belts
- Bottega Veneta
- Brunello Cucinelli
- Burberry
- Chanel
- Chloé
- Dior
- Dolce & Gabbana
- Etro
- Fendi
- Gucci
- Hats & Hair Accessories
- Jacquemus
- Jewelry
- Jil Sander
- Jimmy Choo
- Keychains
- Kiton
- Miu Miu
- Off-White
- Prada
- Rick Owens
- Saint Laurent
- Shoes
- Socks & Tights
- Sunglasses
- The Row
- Tom Ford
- Valentino
- Valentino Garavani
- Versace
- Vivienne Westwood
- Watches
- Fashion & Style
- Fashion Accessories
- Financial Education
- Find Your Path Collection
- Fitness
- Furniture
- Gadgets
- Health & Beauty
- Health & Wellness
- Home & Garden
- Home & Kitchen
- Home Styling & Organization
- Home Supplies
- Kids & Babies
- Kitchen
- Lighting
- Nike
- Online Business
- Online Business for Beginners
- Parenting
- Patio, Lawn & Garden
- Personal Growth
- Pet Care
- Pet Supplies
- Pets
- Smart Life with IA
- Sport & Outdoors
- Super Deals
- Travel
- Wealth
- Wealth Building
- Wellness
- YouTube Shorts Best-Sellers
- Popular
- Best deals
Thinning Scissors for Real Hair Wigs: Blend & Debulk
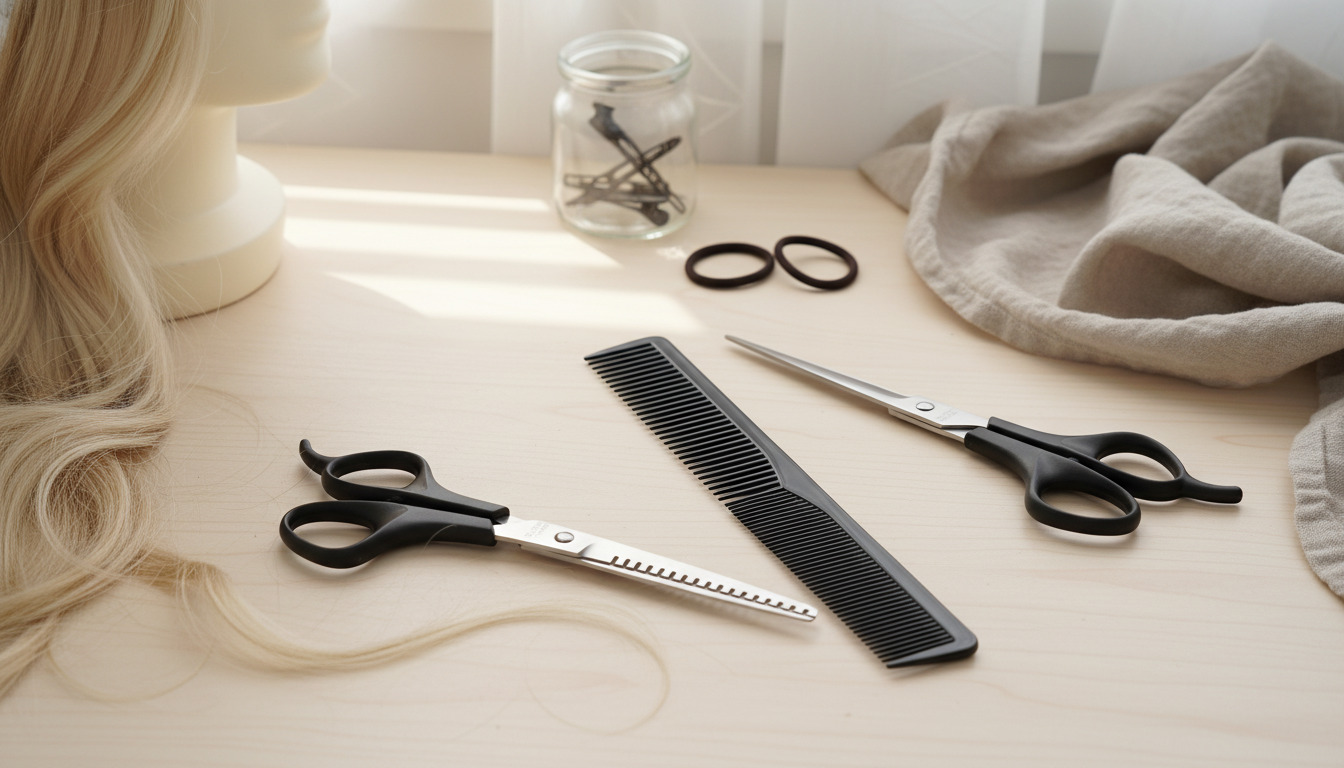
Professional Hair Thinning & Styling Scissors Set for Real Hair Wigs: Clean Blending, Natural Layers, and Safer Trims
Real hair wigs can look incredibly natural, but blunt edges, dense ends, and uneven layers can give them away. A thinning and styling scissors set helps reduce bulk, soften lines, and blend face-framing pieces while keeping the wig’s shape controlled and wearable. When you work slowly and use the right tool for the right step, you can keep the wig full where it should be full—while getting movement and a more “grown” finish through the mid-lengths and ends.
What a Thinning & Styling Scissors Set Helps You Do on Real Hair Wigs
- Reduce heaviness at the ends so the wig moves more like natural hair
- Blend harsh lines from previous cuts, especially around the perimeter and part line
- Create softer layers without removing too much length
- Detail bangs and face-framing pieces with more control than regular household scissors
- Tidy flyaways and shape the wig after wash-and-style days
Thinning Scissors vs. Regular Scissors: When to Use Each
- Use regular straight scissors for removing length and creating the main outline (perimeter cut).
- Use thinning scissors to remove small amounts of hair gradually and avoid a blunt, dense finish.
- For wigs, thinning is usually best on mid-lengths to ends; avoid over-thinning near the cap or knots.
- Work in small sections and step back often—wig hair can look “choppy” if too much is removed in one area.
Quick guide to common wig-trimming tasks
| Task | Best tool | Why it helps | Common mistake to avoid |
|---|---|---|---|
| Shorten overall length | Straight scissors | Creates a clean line and predictable length | Cutting too much at once without checking symmetry on the stand |
| Debulk thick ends | Thinning scissors | Softens density while keeping length | Thinning right at the very edge until it looks wispy |
| Blend layers | Thinning scissors (light passes) | Reduces weight lines between layers | Over-thinning one side so the shape collapses |
| Refine bangs/face frame | Straight scissors + minimal thinning | Improves precision; thinning adds softness | Thinning too close to the roots, causing gaps |
| Fix a harsh step from a prior cut | Thinning scissors | Feathers the transition gradually | Trying to “erase” the step in one pass |
Safe Setup for Cutting a Real Hair Wig
- Use a wig stand or mannequin head and secure the wig so it cannot shift while cutting.
- Start with dry, detangled hair; damp hair can shrink and lead to unexpected shortness after drying.
- Section the hair (front, sides, back) with clips; trim one section at a time for consistency.
- Trim in good lighting and check the silhouette from multiple angles before removing more hair.
- If the wig has lace or delicate construction, keep blades away from the base and knots.
A simple habit that prevents most DIY regrets: comb the section you’re about to cut, let it fall naturally, and only then decide where your fingers and scissors should go. Wig hair can “sit” differently once released, so holding it too tight can trick you into taking off more than you intended.
Technique: Debulking Without Making the Wig Look Thin
- Focus thinning on dense mid-lengths and ends; keep the root area fuller for a realistic look.
- Use light, spaced-out snips rather than repeated cuts in the same spot.
- Comb down, thin once, then re-check movement; repeat only if needed.
- For curly or wavy real hair wigs, thin even more conservatively—texture can hide bulk until it’s gone.
- Stop if you see visible “holes” or separation; switch to straight scissors for minor line cleanup instead.
A controlled “less is more” rhythm
Try working in a three-pass cycle: (1) make one light thinning pass on the mid-lengths, (2) shake and comb the section down to see how it settles, then (3) step back and check balance left-to-right. If the ends still look dense, make a second pass—but avoid stacking multiple cuts in the same exact place, which can create obvious notches.
Care and Handling for Long-Lasting Results
When to Get Professional Help Instead of DIY
If you’re also dealing with hair shedding or thinning in your own hair (not just wig density), it can help to review reputable medical guidance on common causes and next steps from the American Academy of Dermatology Association and Cleveland Clinic. Scissors can improve how a wig looks and wears, but they don’t address underlying health-related hair loss.
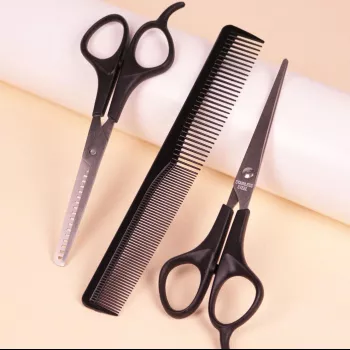
Product Spotlight: Professional Hair Thinning & Styling Scissors Set for Real Hair Wigs
The Professional Hair Thinning & Styling Scissors Set for Real Hair Wigs is built for controlled thinning and shaping, which is exactly what most real hair wigs need after a few wears and washes: less bulk at the ends, softer transitions through layers, and more natural face framing.
Optional add-on for your wig station
If your wig area runs dry (especially during winter heat), maintaining a more comfortable environment can help styling feel smoother and reduce static. The Mini USB Aroma Humidifier & Essential Oil Diffuser with Soft LED Light is a small desktop-friendly option for a vanity or workstation.
FAQ
What do hairdressers recommend for thinning hair?
Many stylists rely on techniques like point cutting and light use of texturizing/thinning shears, choosing the method based on density and texture. The goal is usually to remove weight in targeted areas while keeping the ends from looking sparse—something that’s especially important on wigs, where over-thinning can reveal gaps faster.
What doctor to see for female hair thinning?
Start with a primary care physician or a dermatologist, since they can evaluate common causes and order basic labs if needed. If a hormonal cause is suspected, they may refer you to an endocrinologist; trimming tools help with styling and blending, not medical hair loss.


Leave a comment